RabbitMQ Image Guide
- Documentation applies to
>=4.1version images, for<=3.9version images please refer to: 2.x documentation
Introduction
RabbitMQ is an open-source AMQP implementation that supports multiple clients including: Python, Ruby, .NET, Java, JMS, C, PHP, ActionScript, XMPP, STOMP, etc. It supports AJAX, encapsulates various parameter configurations, and can start development environments or Docker environments with a single command. It features security optimizations, pure command-line operation, and low system resource consumption.
By default, network access is turned off to a ECS instance. You can specify rules in a security group that allows access from an IP address range, port, or ECS security group.
You must specify port numbers (for TCP):
- 22 (ssh)
- 5672 (rabbitmq)
- 15672 (rabbitmq management)
Alibabacloud Security groups document URL: Alibabacloud Security group
Image environment description
- Container image:
rabbitmq:4.1-management-alpine - Data directory:
/data/rabbitmq - Listening port:
0.0.0.0:5672 - Management address:
http://<public-IP>:15672
View RabbitMQ account information
sudo cat /opt/bypanel/app/rabbitmq/.env
RABBITMQ_DEFAULT_USER=admin,adminis the default usernameRABBITMQ_DEFAULT_PASS=********,********is the random default password
Change RabbitMQ Password
sudo bypanel exec rabbitmq rabbitmqctl change_password admin <new-password>
Switch RabbitMQ Version
Default image supports the following versions:
rabbitmq:4.1-management-alpine,4.1is the version numberrabbitmq:4.0-management-alpine,4.0is the version numberrabbitmq:3.13-management-alpine,3.13is the version numberrabbitmq:3.12-management-alpine,3.12is the version number
Switch RabbitMQ version steps as follows:
Down RabbitMQ Container
sudo bypanel down rabbitmq
Delete Old Version Data
sudo rm -rf /data/rabbitmq
Configure New Version
sudo bypanel configure
[root@WeiLiu ~]# sudo bypanel configure

Set language, value range is: [en zh-CN]. please enter the language (default: en):

Set the installation path for bypanel. Please enter the path for bypanel (default: /opt/bypanel):

Set data volume path, please enter the data path (default: /data):

Set timezone, Please enter timezone (default: Asia/Shanghai):

Supported applications: activemq,adminer,anylink,apache,caddy,crproxy,memcached,mongo,mysql,mysql-cron-backup,nacos,nginx,openresty,php53,php54,php55,php56,php70,php71,php72,php73,php74,php80,php81,php82,php83,php84,phpmyadmin,postgresql,rabbitmq,redis,sftpgo,tomcat,zookeeper
Set the startup application, If you add a new application, Please keep the original configuration(e.g., if you add an `zookeeper` application: rabbitmq,zookeeper)
please enter the applications (comma-separated. default: rabbitmq):

Set RabbitMQ version,
value range is: [3.12-management-alpine 3.13-management-alpine 4.0-management-alpine 4.1-management-alpine] .
Please enter the version (default: 4.1-management-alpine ): 3.12-management-alpine
[root@WeiLiu ~]#
Up RabbitMQ Container
sudo bypanel up -d
For management password reference: RabbitMQ account information
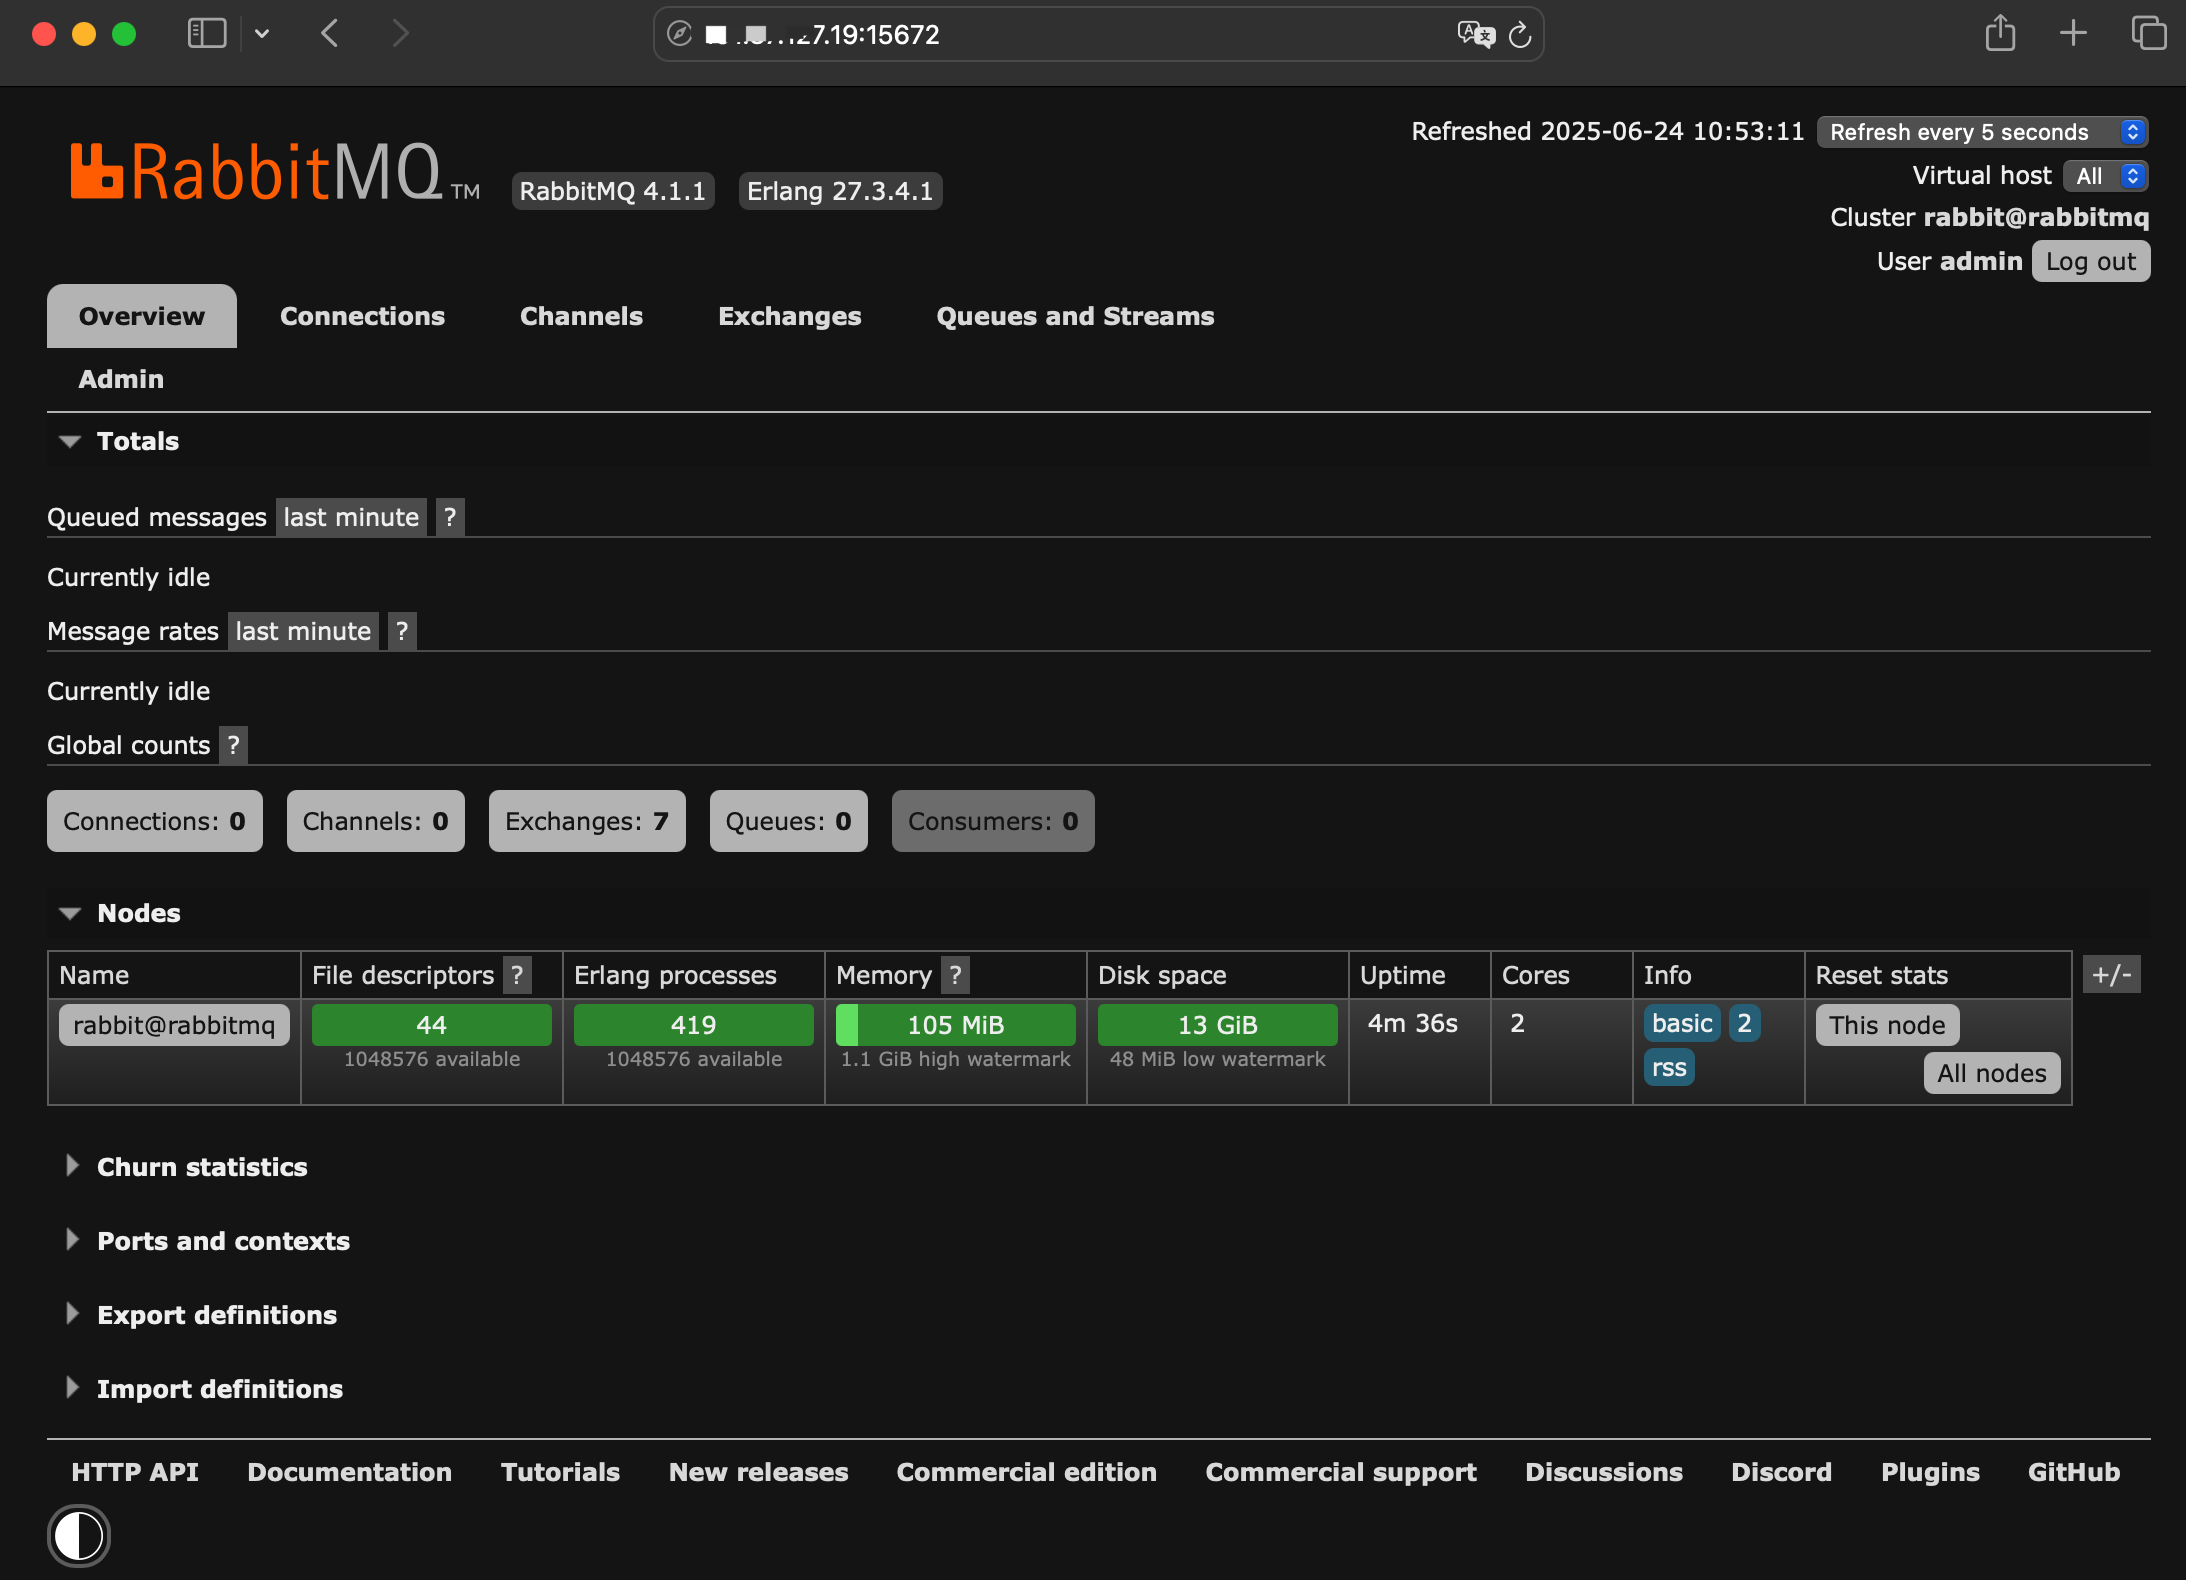
Log in to RabbitMQ Management Console
Access http://<public-IP>:15672 in your browser, then enter username admin and password ********
Security group port 15672 must be opened
ByPanel Documentation
More document URL: README